How to Design Anime Visual Scenes: Artist’s Guide
By The WaifuGen Team · Published June 2026
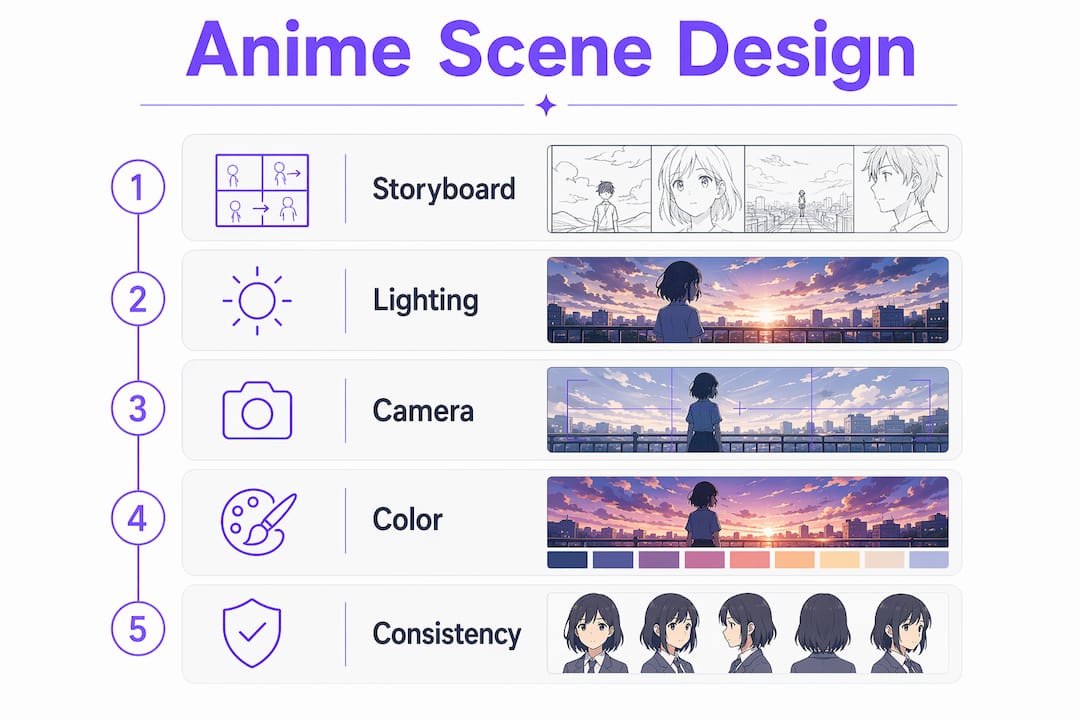
Designing anime visual scenes is the practice of combining storyboard composition, lighting, camera angles, and color theory to produce emotionally resonant, narrative-driven artwork. Whether you work in Clip Studio Paint, Procreate, or an AI-assisted workflow, every great anime scene starts with the same foundation: deliberate visual choices that tell a story before a single word of dialogue appears. This guide walks you through the core techniques that separate flat, forgettable panels from scenes that pull viewers in and hold them there.
How to design anime visual scenes using storyboard composition
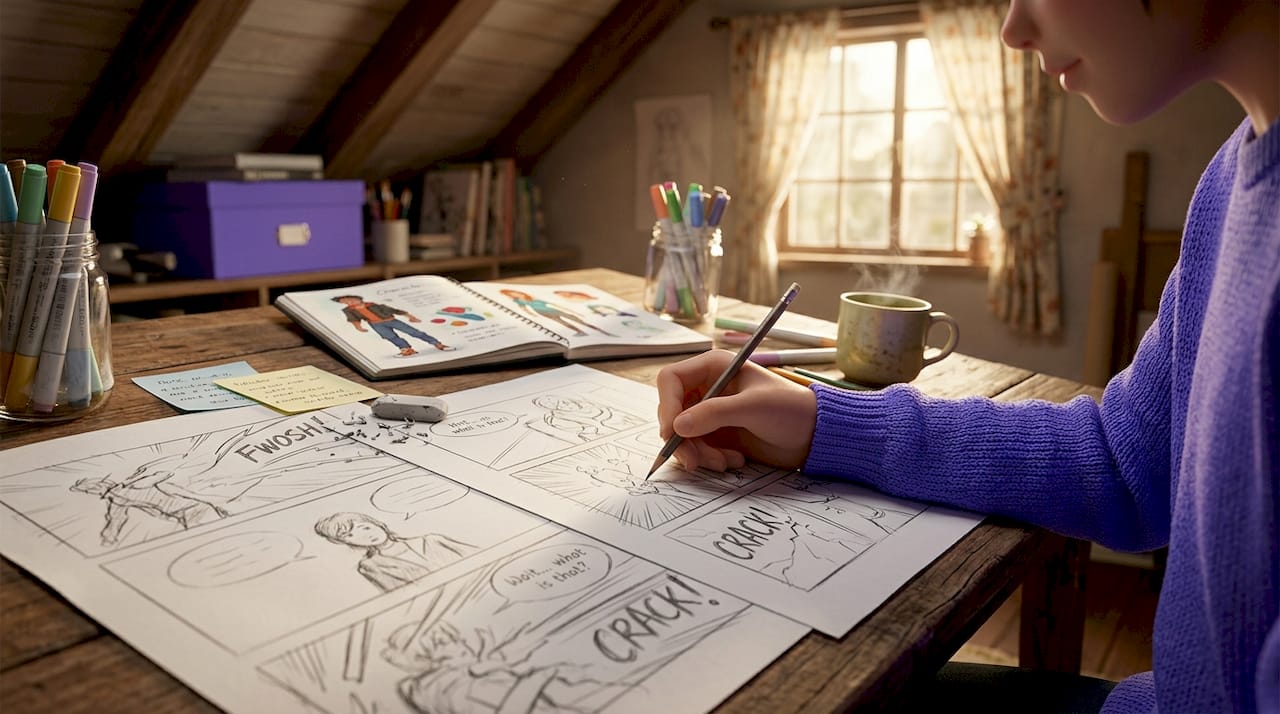
The storyboard is the blueprint of any anime scene. It defines frame composition, character placement, camera movement, and emotional rhythm before you commit a single stroke of finished art. Think of it as writing the grammar of your scene before you worry about the vocabulary.
One of the most common beginner mistakes is locking into medium shots for every panel. Shot types vary every 3 to 4 frames in professional anime storyboards, and that rhythm is what prevents visual monotony. Wide shots establish geography. Close-ups deliver emotion. Extreme close-ups create tension. Cycling through these intentionally keeps the viewer’s eye engaged.
Here is a practical storyboard workflow you can follow right now:
- Sketch the scene’s emotional arc first. Decide whether the scene is building tension, releasing it, or transitioning between both. This determines your shot count and pacing.
- Apply the rule of thirds. Place character eyes and key props at the intersections of a 3x3 grid. This single habit makes compositions feel cinematic rather than amateur.
- Map camera moves explicitly. Push-in shots create intimacy. Pull-outs signal isolation or revelation. Pans follow action. Tilts convey scale or dominance. Label each move on your storyboard panel.
- Count your panels by scene type. Dialogue scenes use 8 to 12 shots, while action sequences run 15 to 25. That gap is intentional. Action scenes need more cuts to sustain energy; dialogue scenes need breathing room.
- Board only the visually demanding shots. Directors economize storyboard panels by focusing on shots that carry emotional weight or complex camera moves. You do not need a panel for every second of screen time.
Pro Tip: Place your character’s eyes at the upper rule-of-thirds line in close-up shots. This single adjustment makes portraits feel intentional and professional rather than accidentally centered.
Storyboard thinking matters more than drawing skill at this stage. Mastering shot types, composition, and pacing lets you communicate a story clearly, even with rough sketches.
How does lighting and color design create mood in anime scenes?
Lighting is the single most powerful tool for creating vibrancy in anime visual scenes. It shapes the value hierarchy of your image, which determines how saturated and emotionally charged your colors can be. Get the lighting wrong, and even beautiful colors will look muddy.
The professional approach follows a layered sequence. Start with the brightest illuminated areas, then define open-area shadows, then layer in saturated colors with unified brightness, and finally establish dark base tones in hidden areas. Shadow contrast values between 0.6 and 1.0 control dark brightness, and local exposure is preferred over skylight leaking for sharper, more stylized results. This is the difference between a scene that glows and one that just sits there.
Key color and lighting techniques for vibrant anime aesthetics:
- Warm-to-cool ratios. Use warm and cool colors in ratios like 7:3 or 8:2 rather than splitting them evenly. A warm-dominant scene with cool shadow accents reads as energetic and alive. A cool-dominant scene with warm highlights feels melancholic.
- Bloom for glow effects. Adding bloom to light sources like windows, lanterns, or magical effects gives scenes an otherworldly quality that is distinctly anime.
- Edge highlights. A thin rim of warm light on a character’s silhouette separates them from the background and adds depth without complex shading.
- Color temperature direction. Sunlight from the upper left reads as natural and safe. Light from below reads as threatening or supernatural. The direction of your light source carries emotional information.
Pro Tip: Before adding any color, convert your scene to grayscale and check the value range. If the image looks flat in grayscale, it will look flat in color. Fix the values first, then paint.
Designing vibrancy requires establishing a clear value hierarchy before layering saturated colors. Skipping this step is why many beginner anime scenes look washed out despite using bright palettes.
How camera angles and framing impact anime storytelling
Camera angles in anime are not decorative choices. They are visual storytelling decisions that communicate character power, emotional state, and narrative stakes in a single frame. A low angle makes a character feel dominant. A high angle makes them feel small or vulnerable. A wide shot can express isolation more powerfully than any line of dialogue.
The five core shot sizes each carry a specific narrative function:
| Shot type | Narrative function |
|---|---|
| Extreme wide shot | Establishes setting, expresses isolation or scale |
| Wide shot | Shows character in environment, sets geography |
| Medium shot | Standard dialogue and interaction framing |
| Close-up | Delivers emotion, focuses on expression or detail |
| Extreme close-up | Creates tension, highlights a specific object or reaction |
Professional directors sequence these using a hook-turn-land rhythm. The hook often uses a medium close-up, the turn shifts size or angle while preserving eye-level, and the land uses a close-up or wider medium with an angle change to resolve intensity. This three-beat structure gives scenes a natural dramatic shape.
- Maintain axis consistency. The 180-degree rule prevents disorienting edits. Keep all cameras on the same side of an imaginary line between characters to preserve spatial logic.
- Use Dutch angles sparingly. Tilted frames signal psychological instability or chaos. They work in horror and thriller anime but feel out of place in slice-of-life or romance scenes.
- Match angle to genre. Eye-level angles feel neutral and grounded, which suits everyday drama. Low angles suit action heroes and villains. High angles suit moments of defeat or reflection.
Pro Tip: When designing a scene sequence, write the emotional intent of each shot in one word (tense, warm, shocked, peaceful) before choosing the angle. The emotion should drive the framing, not the other way around.
Using layered workflows and AI prompts for consistent anime scenes
The biggest consistency problem in anime scene design is stylistic drift. Characters look slightly different from panel to panel. Lighting shifts without narrative reason. Backgrounds feel disconnected from the foreground. A layered workflow solves all three.
The 7-layer AI prompt formula stacks Subject, Composition, Lighting, Style, Mood, Motion, and Environment into every scene description. Composition is the layer most commonly skipped, which is why AI-generated anime scenes default to flat, centered framing. Naming the shot type and camera angle explicitly at the start of a prompt corrects this immediately.
Here is how each layer functions in practice:
- Subject: Character name, outfit, expression, and action. Be specific. “Sakura in a red school uniform, looking over her shoulder with a slight smile” beats “anime girl.”
- Composition: Shot type and camera angle. “Medium close-up, slight low angle” gives the generator a cinematic starting point.
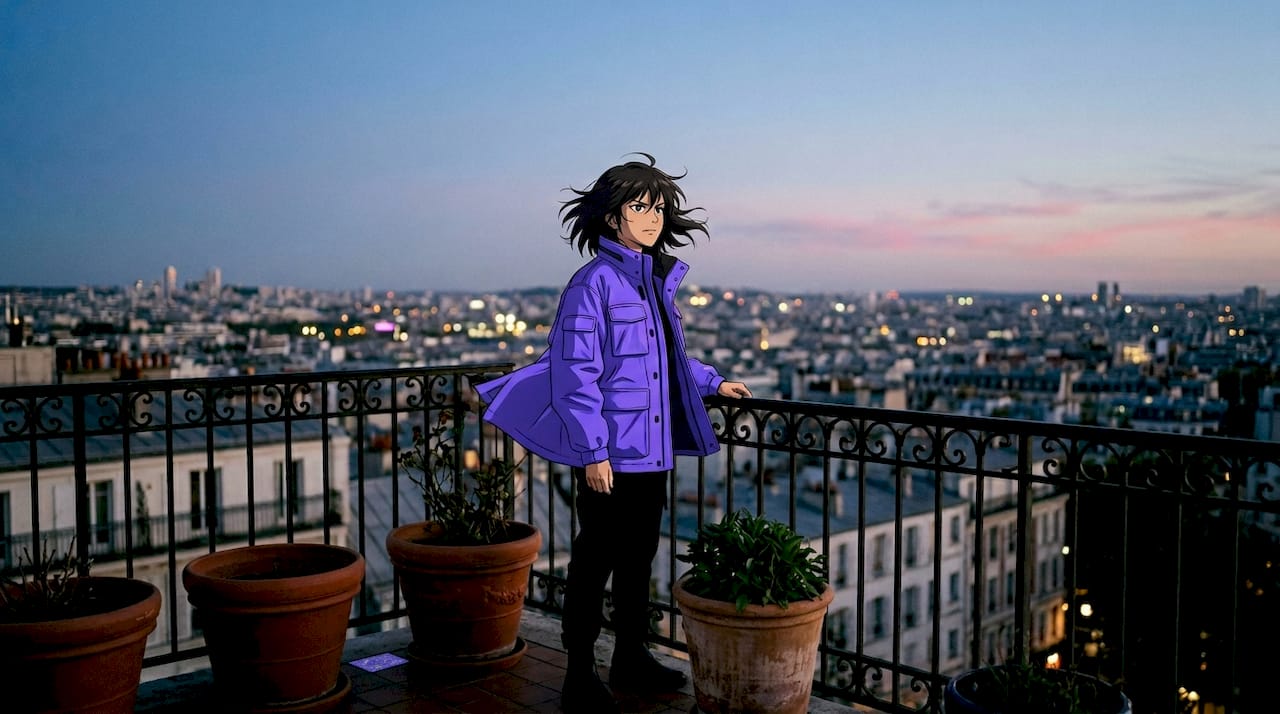
- Lighting: Direction, temperature, and intensity. “Warm afternoon sunlight from the upper left, soft rim light on the right shoulder.”
- Style: Art style reference. “Studio Ghibli background style, cel-shaded character.”
- Mood: Emotional atmosphere. “Nostalgic, quiet, slightly melancholic.”
- Motion: Implied movement. “Hair and skirt caught in a gentle breeze.”
- Environment: Background detail. “Rooftop garden, potted plants, city skyline in soft focus.”
For character consistency across multiple scenes, systematic trait reuse in identity blocks (hair color, eye shape, outfit, proportions) prevents visual drift between panels. Build a reusable character card and paste it into every prompt. This is how professional AI-assisted anime workflows maintain coherence across dozens of scenes.
Pro Tip: Save your character identity block as a text snippet you can paste instantly. Include hair, eyes, outfit, and one personality note. Consistency across scenes becomes automatic rather than effortful.
For a deeper look at building these workflows step by step, the AI anime scene creation guide on the WaifuGen blog covers tools, prompt structures, and pro-level tips in detail.
Key takeaways
Effective anime scene design requires mastering storyboard composition, lighting hierarchy, cinematic framing, and layered workflows before relying on any single tool or technique.
| Point | Details |
|---|---|
| Storyboard first | Define shot types, camera moves, and emotional rhythm before drawing finished art. |
| Value hierarchy before color | Establish brightness and shadow contrast first to prevent flat or muddy visuals. |
| Camera angles carry meaning | Low angles signal power; high angles signal vulnerability. Match angle to emotional intent. |
| Use the 7-layer prompt structure | Stack Subject, Composition, Lighting, Style, Mood, Motion, and Environment for consistent AI scenes. |
| Reuse character identity blocks | Systematic trait reuse across prompts prevents visual drift in multi-scene projects. |
Why fundamentals still win in an AI-assisted world
Roman here. I have spent years watching aspiring anime artists make the same leap: they discover AI image generation, get excited by the speed, and immediately skip the fundamentals. The results are always the same. The scenes look impressive at first glance but fall apart on closer inspection. The lighting has no logic. The camera angles feel random. The characters look slightly different in every panel.
The artists who produce genuinely great anime scenes with AI tools are the ones who already understand storyboard thinking, value hierarchies, and cinematic framing. They use AI to accelerate a process they already understand, not to replace a process they never learned. The anime visual storytelling principles that make a scene emotionally resonant have not changed because the tools have.
My honest advice: spend two weeks doing nothing but storyboard sketches. Rough, ugly, fast sketches. Practice varying shot types every three to four frames. Practice placing eyes on the rule-of-thirds line. Practice labeling camera moves. Once that thinking becomes automatic, AI tools become genuinely powerful because you know exactly what to ask for. Without that foundation, you are just hoping for a good result.
The future of anime scene design is exciting. Tools are getting faster and more controllable every year. But the artists who will do the most interesting work are the ones who treat technology as a collaborator, not a shortcut.
— Roman
See your anime scenes come to life with WaifuGen
Designing great anime scenes is one thing. Seeing them animated with personality, mood, and memory is something else entirely.
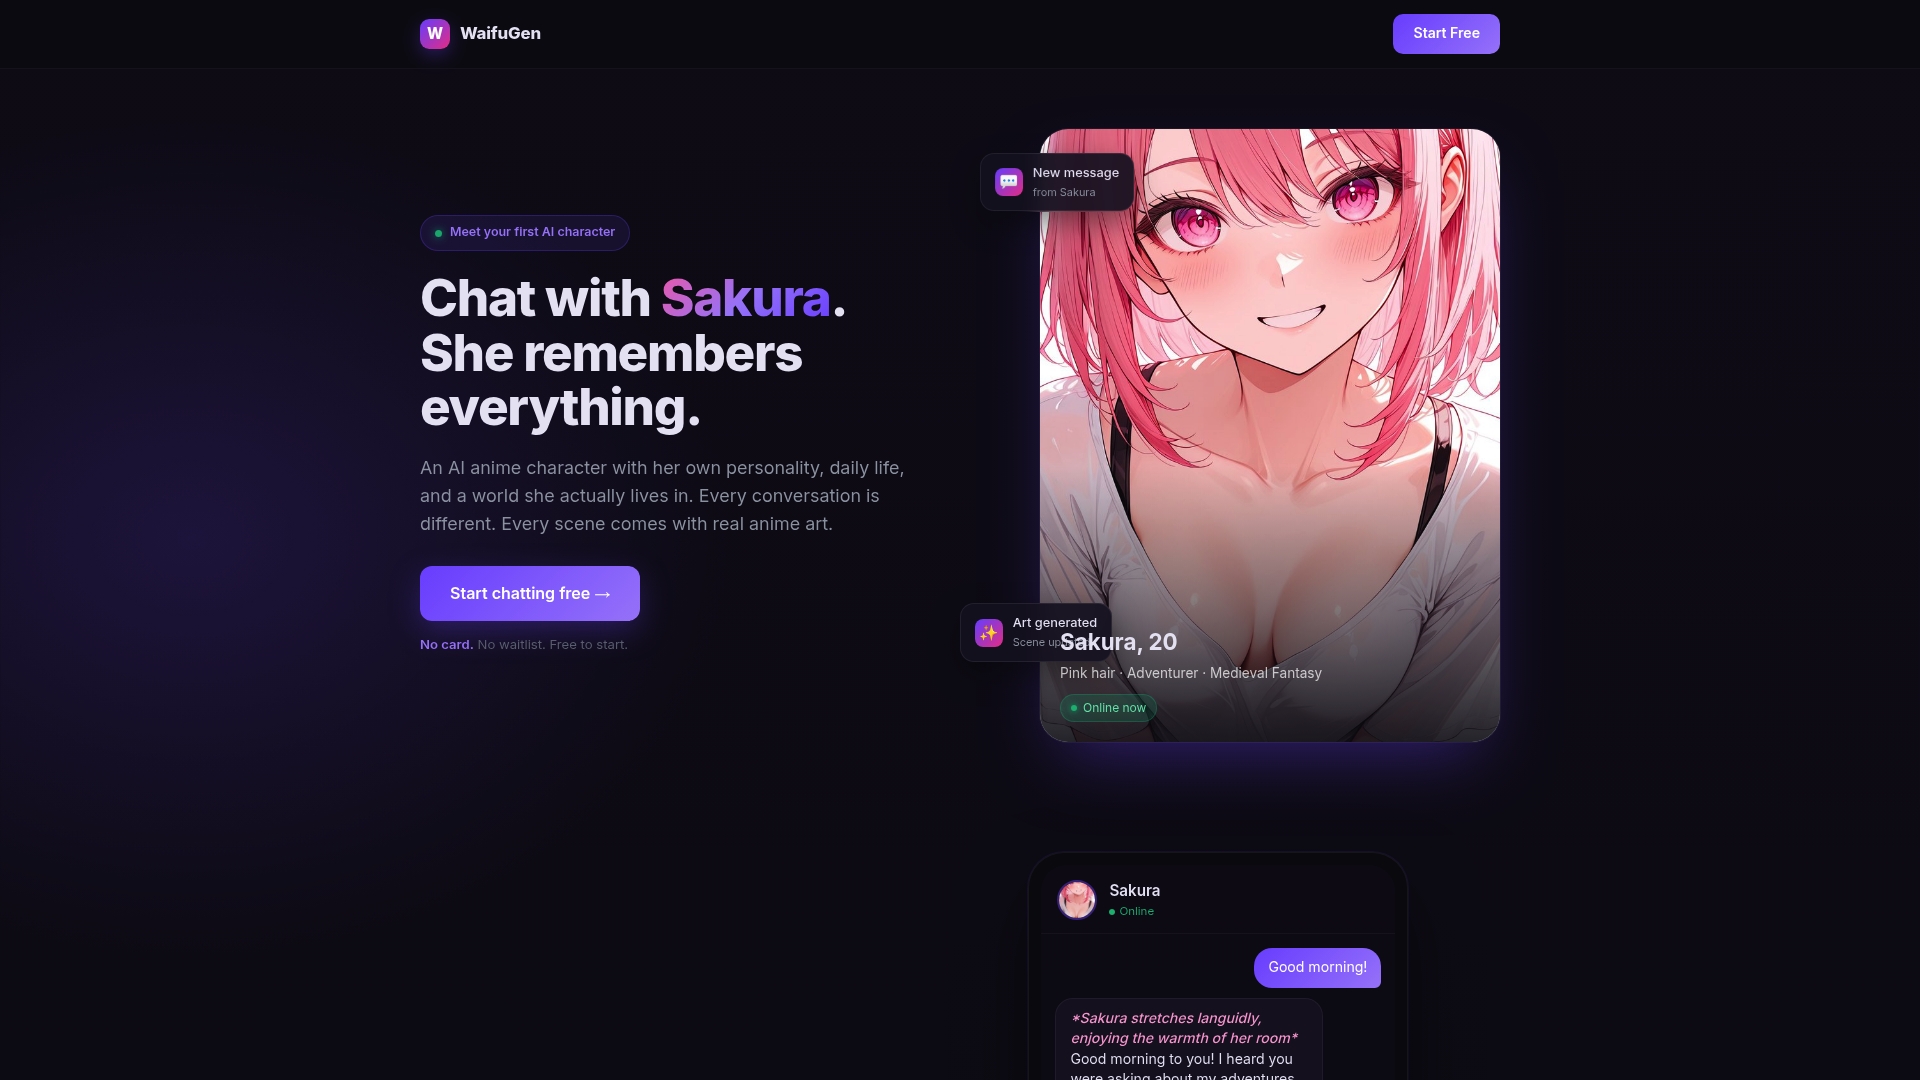
WaifuGen’s AI anime character chat lets you interact with characters like Sakura, who appear in dynamically generated scenes that match their outfit, setting, and emotional state in real time. Every scene shifts based on mood, time of day, and the conversation you are having. It is a live demonstration of everything this guide covers: composition, lighting, character consistency, and visual storytelling working together. Whether you are looking for inspiration or want to see layered scene design in action, WaifuGen is the place to start experimenting. Jump in free and see what your scenes could feel like.
FAQ
What are the core elements of anime scene design?
Anime scene design relies on storyboard composition, shot type variation, lighting hierarchy, color temperature, and camera angle selection. These elements work together to create mood, narrative clarity, and visual vibrancy.
How many storyboard panels does an anime scene need?
Dialogue scenes typically use 8 to 12 panels, while action sequences use 15 to 25. Directors focus panels on visually demanding shots that carry emotional weight or complex camera movement.
What is the 7-layer AI prompt formula for anime scenes?
The 7-layer formula stacks Subject, Composition, Lighting, Style, Mood, Motion, and Environment into every prompt. Naming the shot type and camera angle explicitly in the Composition layer prevents flat, centered default framing.
How do camera angles affect storytelling in anime?
Low angles make characters feel powerful or threatening, while high angles convey vulnerability or defeat. Eye-level angles read as neutral and grounded, making them the default for everyday drama and dialogue scenes.
How do I keep characters consistent across multiple anime scenes?
Build a reusable character identity block that includes hair color, eye shape, outfit details, and proportions. Pasting this block into every prompt or reference sheet prevents visual drift across panels and scenes.